Using Webmentions As A Commenting System 🔗
In my Previous Blogpost I explained what webmentions were, how to set them up, and how to display mentions on your own static blog. You may recall that I wanted to use this as more than a way to see you were mentioned, but also as a way to see comments left on your blog. If you click the above link, you may notice something new there. Check out the picture below:
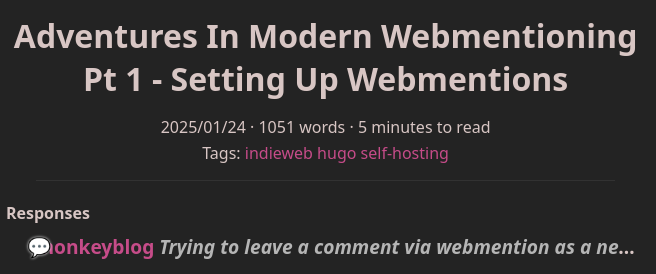
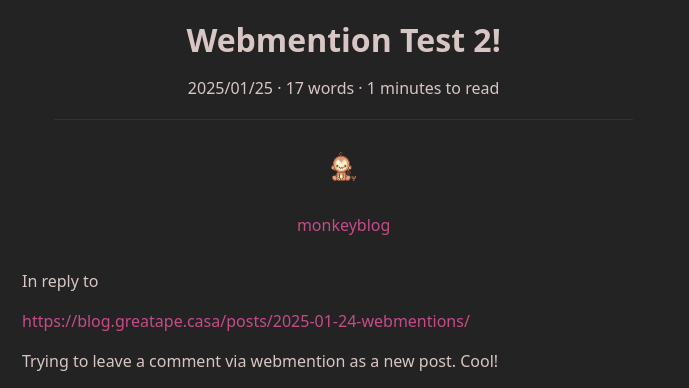
The post that generated that mention is located here. A picture shows the post. I’ll be explaining what is going on in this post in the next step:
So you may be wondering - how did such a simple post manage to interact with my blog in this way? Well get ready for another monkey-tastic guide!
Leaving Webmention Comments 🔗
The structure of a comment 🔗
First off I want to give a huge shoutout to Aaron Parecki and his incredible guide on how webmentions work. To boil it down, once you have webmentions enabled on your site (per my last guide!), you just have to tag some divs, images, links, and text with some classes. I’ll post his example html post for reference to make it easier to explain in detail:
<!doctype html>
<meta charset="utf-8">
<title>Hello World</title>
<body>
  <div class="h-entry">
    <div class="u-author h-card">
      <img src="https://aaronpk.com/images/aaronpk.jpg" class="u-photo" width="40">
      <a href="https://aaronpk.com/" class="u-url p-name">Aaron Parecki</a>
    </div>
    <p>in reply to: <a class="u-in-reply-to" href="https://aaronparecki.com/2018/06/30/11/your-first-webmention">@aaronpk</a></p>
    <p class="e-content">Trying out this guide to sending webmentions</p>
  </div>
</body>
<div class="h-entry">- This is the main container for everything. Your h-card (coming up next), link you’re replying to, and content will all go inside the h-entry div.
<div class="u-author h-card">- This div, which is nested in the h-entry div, contains two important pieces of info:
- An image with the class of
u-photo. This is the “profile photo” of your blog when leaving a mention - A link to your blogs home page, with your name. This gets the class list of
u-url p-name
- An image with the class of
- This div, which is nested in the h-entry div, contains two important pieces of info:
- After the h-card div is closed, you move to the following:
- The blog post you want to mention, wrapped in a link with the class of
u-in-reply-to - The comment you want to leave, a block of text with the class of
e-content
- The blog post you want to mention, wrapped in a link with the class of
- Then close the div.
Using Hugo For Web Mentions 🔗
So as you can see above, there’s not much to it. It’s a relatively easy method of leaving webmentions. There is one final step you have to do after making the above post, but we’ll cover that after this Hugo section.
You might be wondering: How do I make all these divs and classes in markdown? This is where we get a little more nitty gritty to make the post easier to make with our static site generator. It’s a multi step process to setup the ability to make the posts like this, which we’ll go into now.
hugo.toml Modifications 🔗
Hugo uses the “goldmark” markdown renderer, and allows you to change it’s behavior by changing specific settings in the config file. There are two settings we must change for this to work properly. I’ll paste the settings below, then explain why they are relevant:
[markup]
  [markup.goldmark]
    [markup.goldmark.renderer]
      unsafe = true
    [markup.goldmark.parser]
      [markup.goldmark.parser.attribute]
        block = true
[markup.goldmark.renderer] unsafe = true- You need this to be enabled since rendering the div’s via markdown is considered “unsafe html”
[markup.goldmark.parser.attribute] block = true- This allows us to give elements classes inside of markdown itself. How you might ask? I’ll be showing you next!
Creating A Custom <div> Hugo Shortcode 🔗
We’re almost there to be able to make our post. However, one step remains. How do you make divs themselves in markdown? This is where shortcodes come in. To create our shortcode, we need to create a folder in the /layouts directory of our hugo blog named shortcodes. Then inside that folder, we create a file named customdiv.html. Inside of that html file insert the following:
# $BLOG_DIR/layouts/shortcodes/customdiv.html
<div class="{{ .Get "class" }}">
    {{ .Inner | markdownify }}
</div>
That’s it! Now we can create divs in our markdown post with whatever classes we want. How to specifically do that is the next step.
Making A Webmention With Hugo 🔗
I’ll be pasting my example webmention below and explaining the code, much like I explained the webmention code from above. After the code snippet will be a line by line explanation of how it works.
{{< customdiv class="h-entry" >}}
{{< customdiv class="u-author h-card" >}}

{.u-photo}
[monkeyblog](https://blog.greatape.casa)
{.u-url .p-name}
{{< /customdiv >}}
In reply to
[https://blog.greatape.casa/posts/2025-01-24-webmentions/](https://blog.greatape.casa/posts/2025-01-24-webmentions/)
{.u-in-reply-to}
Trying to leave a comment via webmention as a new post. Cool!
{.e-content}
{{< /customdiv >}}
{{< customdiv class="h-entry" >}}- This is the opening div to begin our h-entry block. This code will render as
<div class="h-entry">
- This is the opening div to begin our h-entry block. This code will render as
{{< customdiv class="u-author h-card" >}}- This is the beginning of the h-card div, the one that contains our picture and name+homepage
- This is our profile picture. It is important to make the alt text the same path as the actual image. I’m not sure why this is the case, but it is.
{.u-photo}- This gives the image right above it the class of u-photo
[monkeyblog(https://blog.greatape.casa)- the name you want to be called, and the link to your home page of your blog
{{< /customdiv >}}- This closes the h-card div. NOT the h-entry div
In reply to- This is just for the readability of the post. It’s not really needed, it’s not given a class. It just signifies that you are replying to a blogpost.
[https://blog.greatape.casa/posts/2025-01-24-webmentions/](https://blog.greatape.casa/posts/2025-01-24-webmentions/)- The blog post you want to mention. Note the actual text of the link must match the blogpost
{.u-in-reply-to}- This gives the link right above the class of u-in-reply-to
Trying to leave a comment via webmention as a new post. Cool!- This is the comment that you want to leave in a mention. Aka, the comment.
{.e-content}- The class signifier to give the text above the class of e-content
{{< /customdiv >}}- This closes our h-entry class, which ends the webmention block completely
Now that the post is made, you can publish it.
Activating Changes 🔗
Now, we move to the final step for all new webmention posts, made with hugo or not. to actually make your changes take effect on the webmention.io client, you have to make a POST request. A simple way to do it is so:
curl -si https://webmention.io/webmention-name/webmention \
  -d source=https://yourblog.com/the-reply-you-just-made \
  -d target=https://theirblog.com/the-post-you-want-to-mention
Once you do this, your webmention will show up on the other article (if they have webmentions enabled that is!). If you made the webmention onto a post on your own site as a test, you can login to webmention.io and see if it shows up as a recent webmention.

It’s a bit of groundwork, and the curl command isn’t the “cleanest” way to activate your webmention, but it does get the job done. Now go on and make some webmentions!